
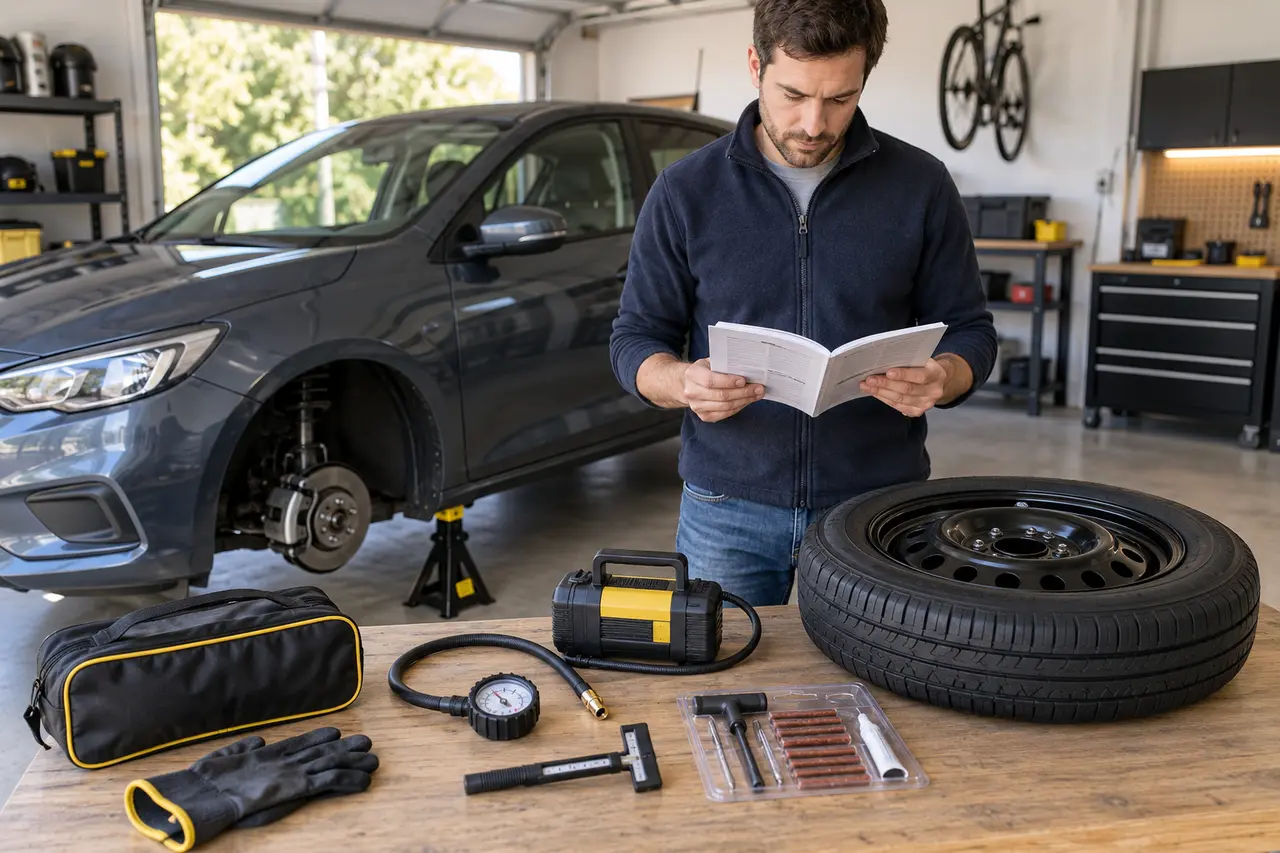
Flat-tire care starts with a safe stop and an accurate diagnosis, followed by the correct spare, mobility system, repair, replacement, or towing decision. Do not drive normally on a flat or assume a visible puncture is the only damage.
This guide collection covers what makes a tire lose air, how to measure a slow leak, when a damaged tire can be repaired, why proper plug-and-patch work requires internal inspection, how TPMS reacts after service, and how to keep a spare ready.
Which Flat-Tire Guide Should You Choose?
Protect people first, then protect the vehicle. Stop outside traffic on firm level ground, measure pressure, inspect without entering below the vehicle, and use qualified tire service for a final repair decision.
Begin with the vehicle owner’s manual and the exact equipment in the car. Tire systems vary by model, trim, wheel package, drivetrain, and model year. General advice helps you ask the right questions, but the manufacturer’s lift points, pressure, torque, spare placement, and mobility limits control the task.
Stop as soon as you can do so safely. Continued driving can destroy the tire, bend the wheel, and reduce steering and braking control.
Repair decision guideFlat Tire Repair vs ReplacementA repair is suitable only when the damage and the complete tire meet professional repair rules.
Tire repair methodsTire Plug vs PatchA plug fills the injury path and a patch seals the inner liner; a qualified combination repair addresses both when the tire is eligible.
Flat-tire causesWhat Causes a Flat Tire?A tire becomes flat when air escapes or the tire can no longer hold its load at the required pressure.
Slow-leak diagnosisHow to Find a Slow Tire LeakMeasure the loss, test the full tire and wheel, and mark every leak before deciding whether repair is possible.
TPMS troubleshootingTPMS Light After Changing a TireCheck actual cold pressure first, then follow the vehicle’s reset or relearn procedure only after every tire is correct.
Spare-tire inspectionHow to Check Your Spare TireA spare is useful only when it is inflated, compatible, serviceable, accessible, and supported by a complete working tool kit.
Realistic tire-change timingHow Long Does Changing a Tire Take?Understand the typical timeline, what causes delays, and why a safe location matters more than a fast finish.
How Should You Use These Guides?
Choose the page that matches the vehicle or tire condition before unloading tools. Read the direct answer and stop conditions first. Then compare the available spare, jack, wrench, pressure equipment, and working area with the checklist. Do not begin a lift until the complete plan is clear.
One guide may lead to another. A flat tire can involve a missing spare, a stuck fastener, a wheel lock, a damaged rim, a pressure warning, or a vehicle-specific lifting rule. Follow those links instead of forcing the normal sequence through a problem.
What Makes a Tire Task Safe?
Safe work needs firm level ground, distance from traffic, good light, stable weather, a secured vehicle, compatible equipment, and enough physical control to handle the tools and wheel. Hazard lights and warning devices improve visibility, but they do not create a protected work zone.
Apply the parking brake, select the manual-specified gear, and place proper wheel chocks. Keep people away from the raised corner. Never enter the space below a vehicle held by an emergency jack. Stop for leaning, sinking, slipping, cracked tools, damaged lift points, or unexpected movement.
What Equipment Should Be Checked?
| Item | Check | Reason |
|---|---|---|
| Owner’s manual | Correct model and wheel procedure | Defines lift points and limits |
| Spare or mobility kit | Compatibility, pressure, condition, and date | Determines whether mobility can be restored |
| Jack | Capacity, range, saddle, base, and operation | Supports a controlled lift |
| Wrench and key | Exact fit and complete engagement | Prevents rounded fasteners |
| Pressure equipment | Gauge range and inflator condition | Confirms usable cold pressure |
| Safety kit | Chocks, light, gloves, visibility gear, phone | Supports setup and communication |
What Should Stop the Job?
Stop when the vehicle is beside close traffic, on a curve, bridge, tunnel, narrow shoulder, soft ground, ice, deep gravel, or a slope. Stop when visibility is poor, weather is severe, or the driver cannot work without pain or loss of balance.
Mechanical stop signs include a missing wheel-lock key, seized or rounded fastener, wheel stuck on the hub, incompatible spare, flat spare, jack that leaks or leans, wheel or suspension damage, multiple flat tires, and collision damage. These conditions need different tools or professional service.
What Happens After Temporary Mobility Is Restored?
A compact spare, run-flat, or sealant kit is a short-term way to reach service. Read the exact speed, distance, axle, load, towing, and weather limits. Drive smoothly, choose the shortest practical route, and stop for vibration, pulling, rubbing, noise, or new warning lights.
At the service location, request an internal tire inspection. Confirm whether the tire can be repaired, whether the wheel and valve are sound, and whether the TPMS sensor or suspension was affected. Have the road wheel installed to the stated torque and return a ready spare or renewed kit to storage.
How Should You Compare Advice With the Owner's Manual?
Use each article as a clear starting point, then open the manual for the exact model year and equipment. Find the tire-changing, jacking, towing, pressure, and temporary-mobility sections. Match the diagram to the vehicle instead of choosing a point because it looks strong. Record the stated fastener torque and spare restrictions before tools come out.
If a guide and the manual appear different, pause and confirm that you have the correct manual, trim, wheel package, and market version. Vehicle instructions take priority. A dealer, tire professional, or roadside provider can clarify an unusual spare, suspension system, wheel lock, EV lift pad, trailer setup, or heavy-vehicle requirement.
How Do You Know the Job Is Finished?
The vehicle should be fully lowered, every fastener should have its stated final torque, and the installed tire should have the correct cold pressure. Remove the chocks only when the tools, damaged wheel, warning devices, and loose cargo are secured. Check that no part rubs and that no warning, vibration, pulling, odor, or sound appears as the vehicle begins to move.
Temporary mobility is only the first result. The job is complete after the damaged tire and wheel are inspected, the normal approved tire is restored, the spare or repair kit is made ready again, and any fastener, valve, sensor, carrier, jack, or tool problem is corrected.
How Can You Prevent a Roadside Surprise?
Check tire and spare pressure monthly when cold. Inspect tread and sidewalls, learn the warning lights, test the inflator, check sealant expiration, find the wheel-lock key, and operate the unloaded jack as its instructions allow. Verify the kit before long or remote trips.
Practice reading the manual and locating each item at home. Keep cargo from blocking the spare. Save roadside coverage details and key phone numbers offline. Good preparation shortens the response while keeping safety ahead of speed.
Where Should You Start?
Open the guide that matches the current condition. If the vehicle is exposed to traffic or the problem is unclear, start with roadside tire-change safety. For the standard procedure, use the main tire-change guide.
Quick answers
Frequently Asked Questions
What should you do first after a flat?
Control the vehicle, reach a protected place, stop, and choose approved temporary mobility or service..
Can a flat tire be repaired roadside?
A kit may provide temporary mobility, but final repair needs internal inspection..
What causes repeated pressure loss?
Common causes include a puncture, valve, bead, wheel, or failed repair leak..
Why can TPMS stay on after service?
Pressure, sensor, compatibility, relearn, or system faults may remain..
How often should the spare be checked?
Check it monthly when cold and before long trips..