
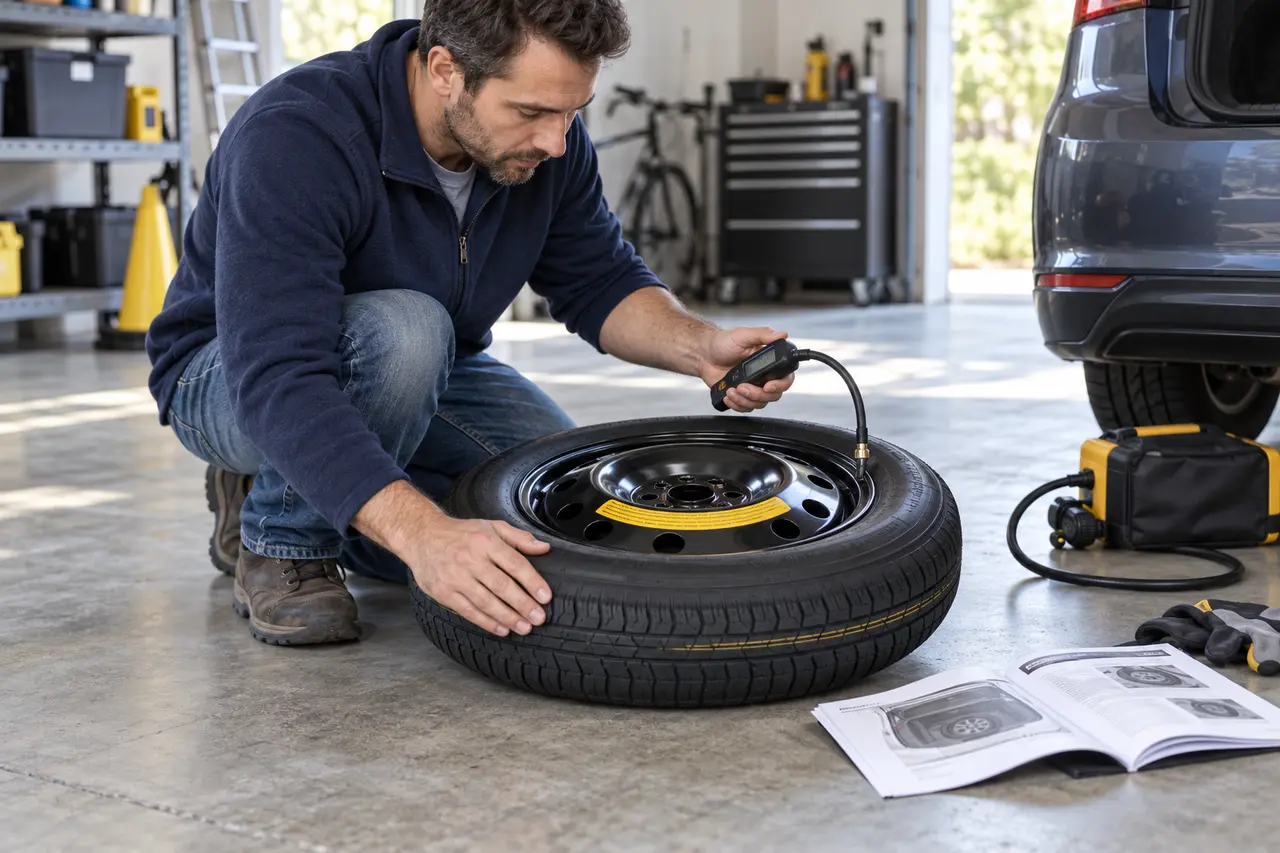
Check your spare tire at least once a month when cold. Confirm its required pressure, tire age, tread, sidewalls, bead, valve, and wheel condition. Then verify that it fits the vehicle and that the jack, lug wrench, wheel-lock key, carrier, and removal tools are present and usable.
Start by Identifying the Type of Spare
| Spare type | Main characteristic | What to verify |
|---|---|---|
| Compact temporary spare | Narrow tire intended for limited mobility | Higher pressure, speed limit, distance limit, and permitted wheel position |
| Full-size matching spare | Same basic wheel and tire specification as road tires | Pressure, tread difference, rotation policy, and TPMS status |
| Full-size temporary spare | Full-size dimensions but limited construction or wheel | Temporary-use label and all vehicle restrictions |
| Collapsible spare | Stored deflated and expanded for use | Correct inflator, inflation procedure, and storage instructions |
| No spare | Vehicle uses run-flat tires or a mobility kit | Sealant expiration, compressor operation, and towing plan |
How to Check Spare Tire Pressure
- 1Check it cold
Measure before driving or after the vehicle has been parked for at least three hours.
- 2Find the spare specification
Use the owner manual, vehicle label, and any pressure marking specific to the spare.
- 3Remove the valve cap
Inspect the cap and stem for dirt, cracking, bending, or corrosion.
- 4Measure with an accurate gauge
Press the gauge squarely onto the valve and repeat an unusual reading.
- 5Correct and recheck
Add or release air to the specified cold pressure, test again, and reinstall the cap.
Do not inflate a normal road tire to the maximum pressure printed on its sidewall. The correct road-tire pressure comes from the vehicle placard or owner manual. A compact spare has its own requirement and often uses much higher pressure than the road tires.
NHTSA TireWise recommends checking all tires, including the spare, at least monthly when cold.
How to Read the Spare Tire's Age
Find the Tire Identification Number on the sidewall. The last four digits normally show the week and year of manufacture. For example, 2324 means the tire was made in the 23rd week of 2024. The complete code may face inward, so it may not be visible while the spare is mounted under the vehicle.
An unused spare still ages through time, heat, oxygen, and storage conditions. Age cannot be judged only by tread depth. Follow the vehicle and tire makers' replacement guidance, and have an older spare inspected even when it has never touched the road.
Inspect the Tire and Wheel
- Tread: look for cuts, embedded objects, missing rubber, and uneven or hardened surfaces.
- Sidewalls: reject the spare for bulges, deep cracks, splits, exposed cord, or impact damage.
- Bead: check for torn rubber or distortion where the tire seats on the wheel.
- Valve: look for cracking, corrosion, bending, missing cap, or a leak at the core or base.
- Wheel: inspect for cracks, bends, severe rust, damaged lug holes, or a contaminated mounting surface.
- Carrier: make sure cables, bolts, latches, covers, and access points release and secure the spare correctly.
Do not crawl under a vehicle to inspect or release an underbody spare in an exposed traffic area. Practice the carrier procedure in a safe driveway and use the exact factory access tool.
Will the Spare Fit When You Need It?
Confirm the wheel size, bolt pattern, center bore, fastener seat, tire diameter, load capacity, and brake clearance through the owner manual or original-equipment part information. A wheel can share the same number of lug holes and still be incompatible.
Some compact spares cannot be fitted over large front brakes. The manual may instruct the driver to move a rear wheel to the front and install the spare at the rear. All-wheel-drive vehicles can also have strict circumference or axle-position rules.
Check the Spare-Tire Tools
Locate the jack, handle, lug wrench, wheel-lock key, wheel chocks, tow-eye or carrier tool, and any hubcap-removal tool. Make sure the wrench fits the wheel fasteners fully and the jack is approved for the vehicle. Check that tool storage has not filled with water or corrosion.
If the vehicle uses a mobility kit instead of a spare, check the compressor cable and hose, read the puncture restrictions, and replace expired sealant. Save roadside-assistance information where it is available without mobile data.
What Limits Apply After the Spare Is Installed?
Read the spare label and owner manual before driving. Observe the lowest stated speed, distance, load, towing, weather, and wheel-position limit. A temporary spare changes traction, braking, ground clearance, and handling. Drive smoothly and go directly to service.
After use, have the normal tire and wheel repaired or replaced promptly. Inspect the spare again, restore its pressure, and return every tool to its fixed storage location.
Before an emergency, confirm whether the spare can go on the front, learn why a spare may not fit, and check whether newer vehicles include a spare.
Related Spare and Flat-Tire Guides
Quick answers
Frequently Asked Questions
How often should you check a spare tire?
Check it at least once a month when cold and before long trips, along with the road tires.
What pressure should a spare tire have?
Use the vehicle label, owner manual, and spare-specific marking. Compact spares often require a higher pressure than the road tires.
Does a spare tire expire if it is never used?
Spare tires still age in storage. Follow the vehicle and tire manufacturers' inspection and replacement guidance.
Can you use a cracked spare tire?
No. Cracks, bulges, exposed cords, bead damage, or severe corrosion make the spare unsuitable for service.
Does a compact spare fit every wheel position?
Not always. Brake clearance, axle position, drivetrain, and vehicle instructions can restrict where it may be installed.