
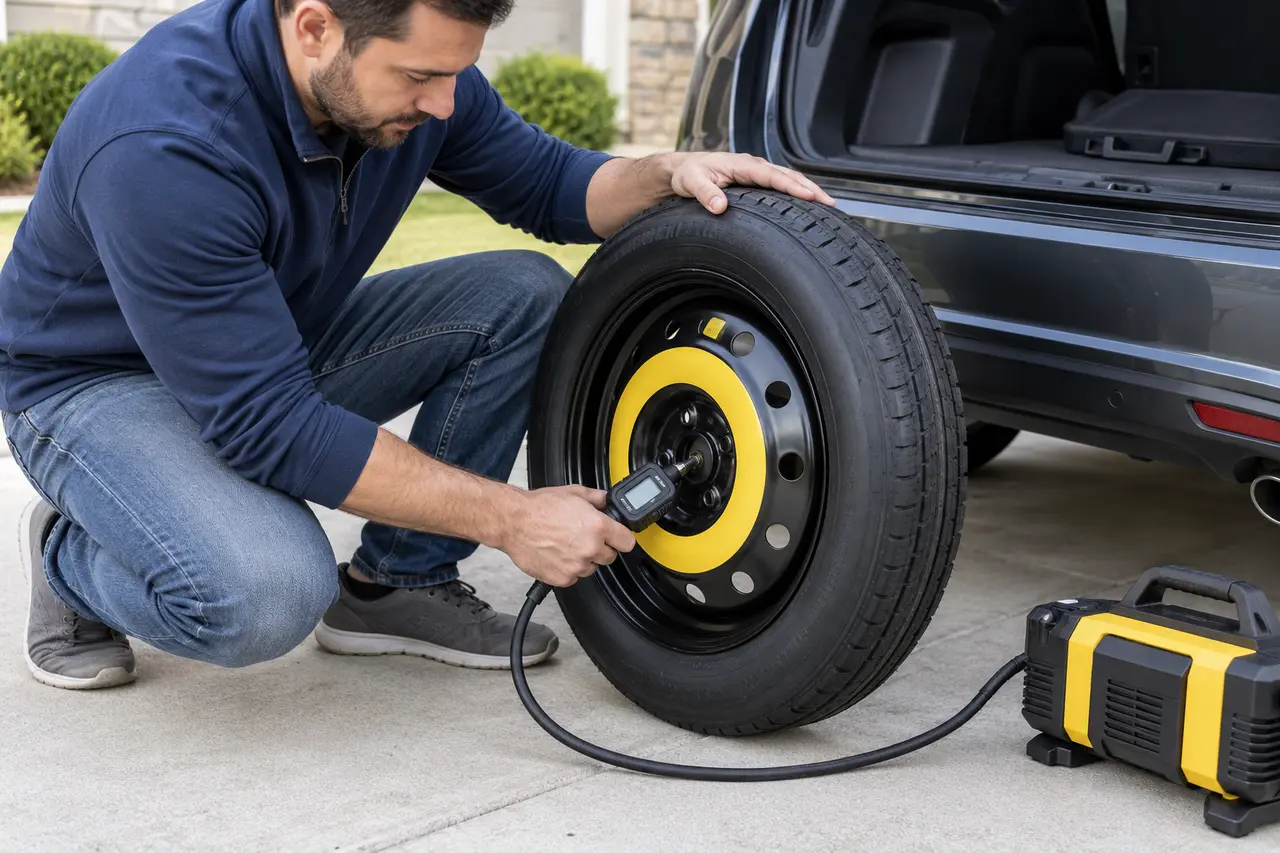
Use the cold pressure printed on the spare tire, vehicle label, or owner’s manual. Many compact spares specify 60 PSI or about 420 kPa, but full-size spares often use a road-tire value and some temporary designs require another pressure.
Pressure supports the spare’s load and controls heat, shape, and handling. A stored spare can lose air even when unused, which is why it must be part of routine checks.
What Does the Owner’s Manual Control?
The manual and vehicle label identify the cold inflation pressure. The maximum pressure molded elsewhere on a tire is not automatically the vehicle setting. Match the wording specifically to the compact or full-size spare.
The manual identifies compatible spare types, storage and release instructions, approved jack points, fastener torque, and temporary-use limits. The markings on the spare provide additional pressure, speed, load, and service information. Use the more restrictive instruction when required and seek manufacturer guidance when information appears inconsistent.
Which Spare-Tire Type Is Involved?
High-pressure compact spares have small air volume and can change pressure quickly during inflation. Full-size spares may match the front or rear road-tire setting. Collapsible spares can have a staged inflation procedure.
| Factor | What to check | Why it matters |
|---|---|---|
| Cold pressure | Value before the tire heats from use | Provides a consistent measurement basis |
| Compact spare value | Often 60 PSI or 420 kPa | Supports load in a smaller tire |
| Full-size spare value | Vehicle-specified road-tire pressure | May differ by axle or load |
| Gauge range | Must cover the stated pressure | Some low-range gauges are unsuitable |
| Temperature | Pressure changes with ambient conditions | Seasonal checks remain necessary |
| Leak check | Pressure should remain stable | Loss can indicate valve, bead, wheel, or tire damage |
How Do You Check Compatibility?
Confirm the pressure specification belongs to that exact spare size and wheel. Do not copy a value from another vehicle or another tire. Replacement spares need both physical fit and the correct inflation information.
A spare supplied for another vehicle may have the wrong bolt pattern, center bore, offset, overall diameter, load capacity, brake clearance, or tire construction. Do not force a wheel onto the hub or substitute wheel hardware. Use only a spare and fasteners approved for the vehicle and required position.
How Do You Inspect the Spare Before Use?
Use a gauge that covers the full value. Remove the valve cap, press the gauge squarely, read once or twice, and replace the cap. Check for cracking, valve damage, bead problems, and wheel corrosion while the spare is accessible.
Check pressure when the tire is cold, meaning it has not recently been driven and heated. Inspect both sidewalls, the tread, valve, bead area, and wheel. Do not install a spare with severe cracking, a bulge, exposed reinforcement, separation, a damaged wheel, or pressure that cannot be maintained.
What Is the Correct Procedure?
Measure before jacking. If low and otherwise undamaged, inflate gradually with a compatible inflator, pausing to measure. Small compact spares gain pressure quickly. If overinflated, release air in controlled small amounts and recheck.
Prepare the spare and tools before raising the vehicle. Keep the parking brake applied and wheel chocks positioned as directed. Lift only at the approved point. Start fasteners carefully, snug them in a crossing pattern, lower as specified, and apply final torque with the correct specification.
What Driving Limits Apply?
Correct pressure does not remove the spare’s speed or distance limit. Recheck if the spare has been driven, but wait for a cold reading when setting the maintenance value unless emergency instructions state otherwise.
Compact spares commonly carry reduced limits, but the exact number is vehicle and tire specific. Many are marked for no more than 50 mph or 80 km/h, while permitted distance can vary. Drive smoothly, avoid hard acceleration and braking, and travel directly to professional service. Stop for vibration, pulling, noise, pressure loss, or unstable handling.
How Do Weather, Load, and Road Conditions Matter?
Cold weather can reduce measured pressure, while heat increases it during driving. Set cold pressure to the specified value rather than adding or removing air solely because a hot reading differs.
A temporary spare changes the vehicle’s available traction and may affect ground clearance. Reduce load when the instructions require it. Avoid towing, snow chains, rough roads, deep water, high-speed travel, and long detours unless the manufacturer specifically permits them with the installed spare.
What Mistakes Should You Avoid?
- Do not use the road-tire value for every donut: many require much higher pressure.
- Do not use the sidewall maximum as a guess: find the stated spare specification.
- Do not inflate visible structural damage: cracking, bulges, and separation need replacement.
- Do not rely on appearance: a compact spare can look firm while low.
- Do not use an inadequate gauge: confirm its range and condition.
- Do not bleed a hot tire to cold pressure: it can be underinflated after cooling.
A spare is part of a vehicle system, not a universal wheel. Guessing pressure, fit, placement, or travel limits can damage the tire, wheel, drivetrain, brakes, or body. Stop when the specified setup cannot be confirmed.
When Is Professional Help Required?
Use professional help when the spare will not hold pressure, the valve or wheel leaks, structural damage is visible, the inflator cannot reach the specification, or the correct value cannot be confirmed.
Roadside assistance can install a usable spare when the location permits. Towing is appropriate when there is no compatible spare, the mobility kit cannot address the damage, multiple tires are affected, the wheel or suspension is damaged, or the vehicle cannot be lifted safely.
What Should Happen After the Spare Is Used?
After use, inspect the spare, allow it to cool, restore the specified cold pressure, and return it to storage. Replace the valve or tire when leakage or damage is found.
Have the normal tire removed and inspected internally when repair is considered. Restore a compatible road wheel as soon as practical. Then check the spare, correct its pressure, replace it if damaged or aged out, and return every tool to secure storage.
How Do You Keep the Spare Ready?
NHTSA recommends checking all tires, including the spare, at least monthly when cold. Keep an accurate gauge and suitable inflator in the vehicle and check before long trips.
Include the spare in routine tire checks. NHTSA advises checking all tires, including the spare, at least monthly when cold. Inspect before long trips and when seasons change. Confirm that the jack, lug wrench, wheel-lock key, pressure gauge, and inflator remain present and functional.
Which Spare-Tire Guides Are Related?
These pages explain the connected decisions around storage, installation, pressure, placement, age, and limited travel:
Use the complete tools checklist and roadside safety guide before beginning. A serviceable spare helps only when the vehicle, equipment, driver, and location are ready.
Quick answers
Frequently Asked Questions
Is 60 PSI normal for a spare tire?
Yes, many compact spares specify 60 PSI, but use the exact value for your vehicle and spare..
Why is donut spare pressure so high?
The smaller tire uses higher pressure to carry its intended load and maintain shape..
Should spare pressure be checked cold?
Yes. A cold check provides the reference used for the specified maintenance pressure.
Can you drive on a spare with low pressure?
Do not use it below the required pressure. Inflate it if undamaged or request help.
How often should spare PSI be checked?
Check at least monthly when cold and before long trips..